The 3 Outfit Choices That Ruin Brand Photos
Why Your Clothes Matter More Than You Think
When a potential client looks at your website, their brain makes split-second decisions. They look right at your eyes. They read your facial expressions. They decide if they trust you before they ever read a single paragraph of text.
In any good story, your customer is the main character. You are the guide who helps them win. Your photos need to show a clear, approachable guide. If your clothes scream for attention, the viewer gets confused. Their eyes wander around the image instead of staying on your face.
Cameras view the world differently than human eyes do. A shirt that looks fantastic in your bedroom mirror can look like a vibrating mess on a monitor screen. Camera sensors react to light, texture, and contrast in specific ways. Knowing how a lens sees your clothes helps you pick outfits that let your personality shine.
Mistake 1: Tiny Patterns and the Moiré Effect
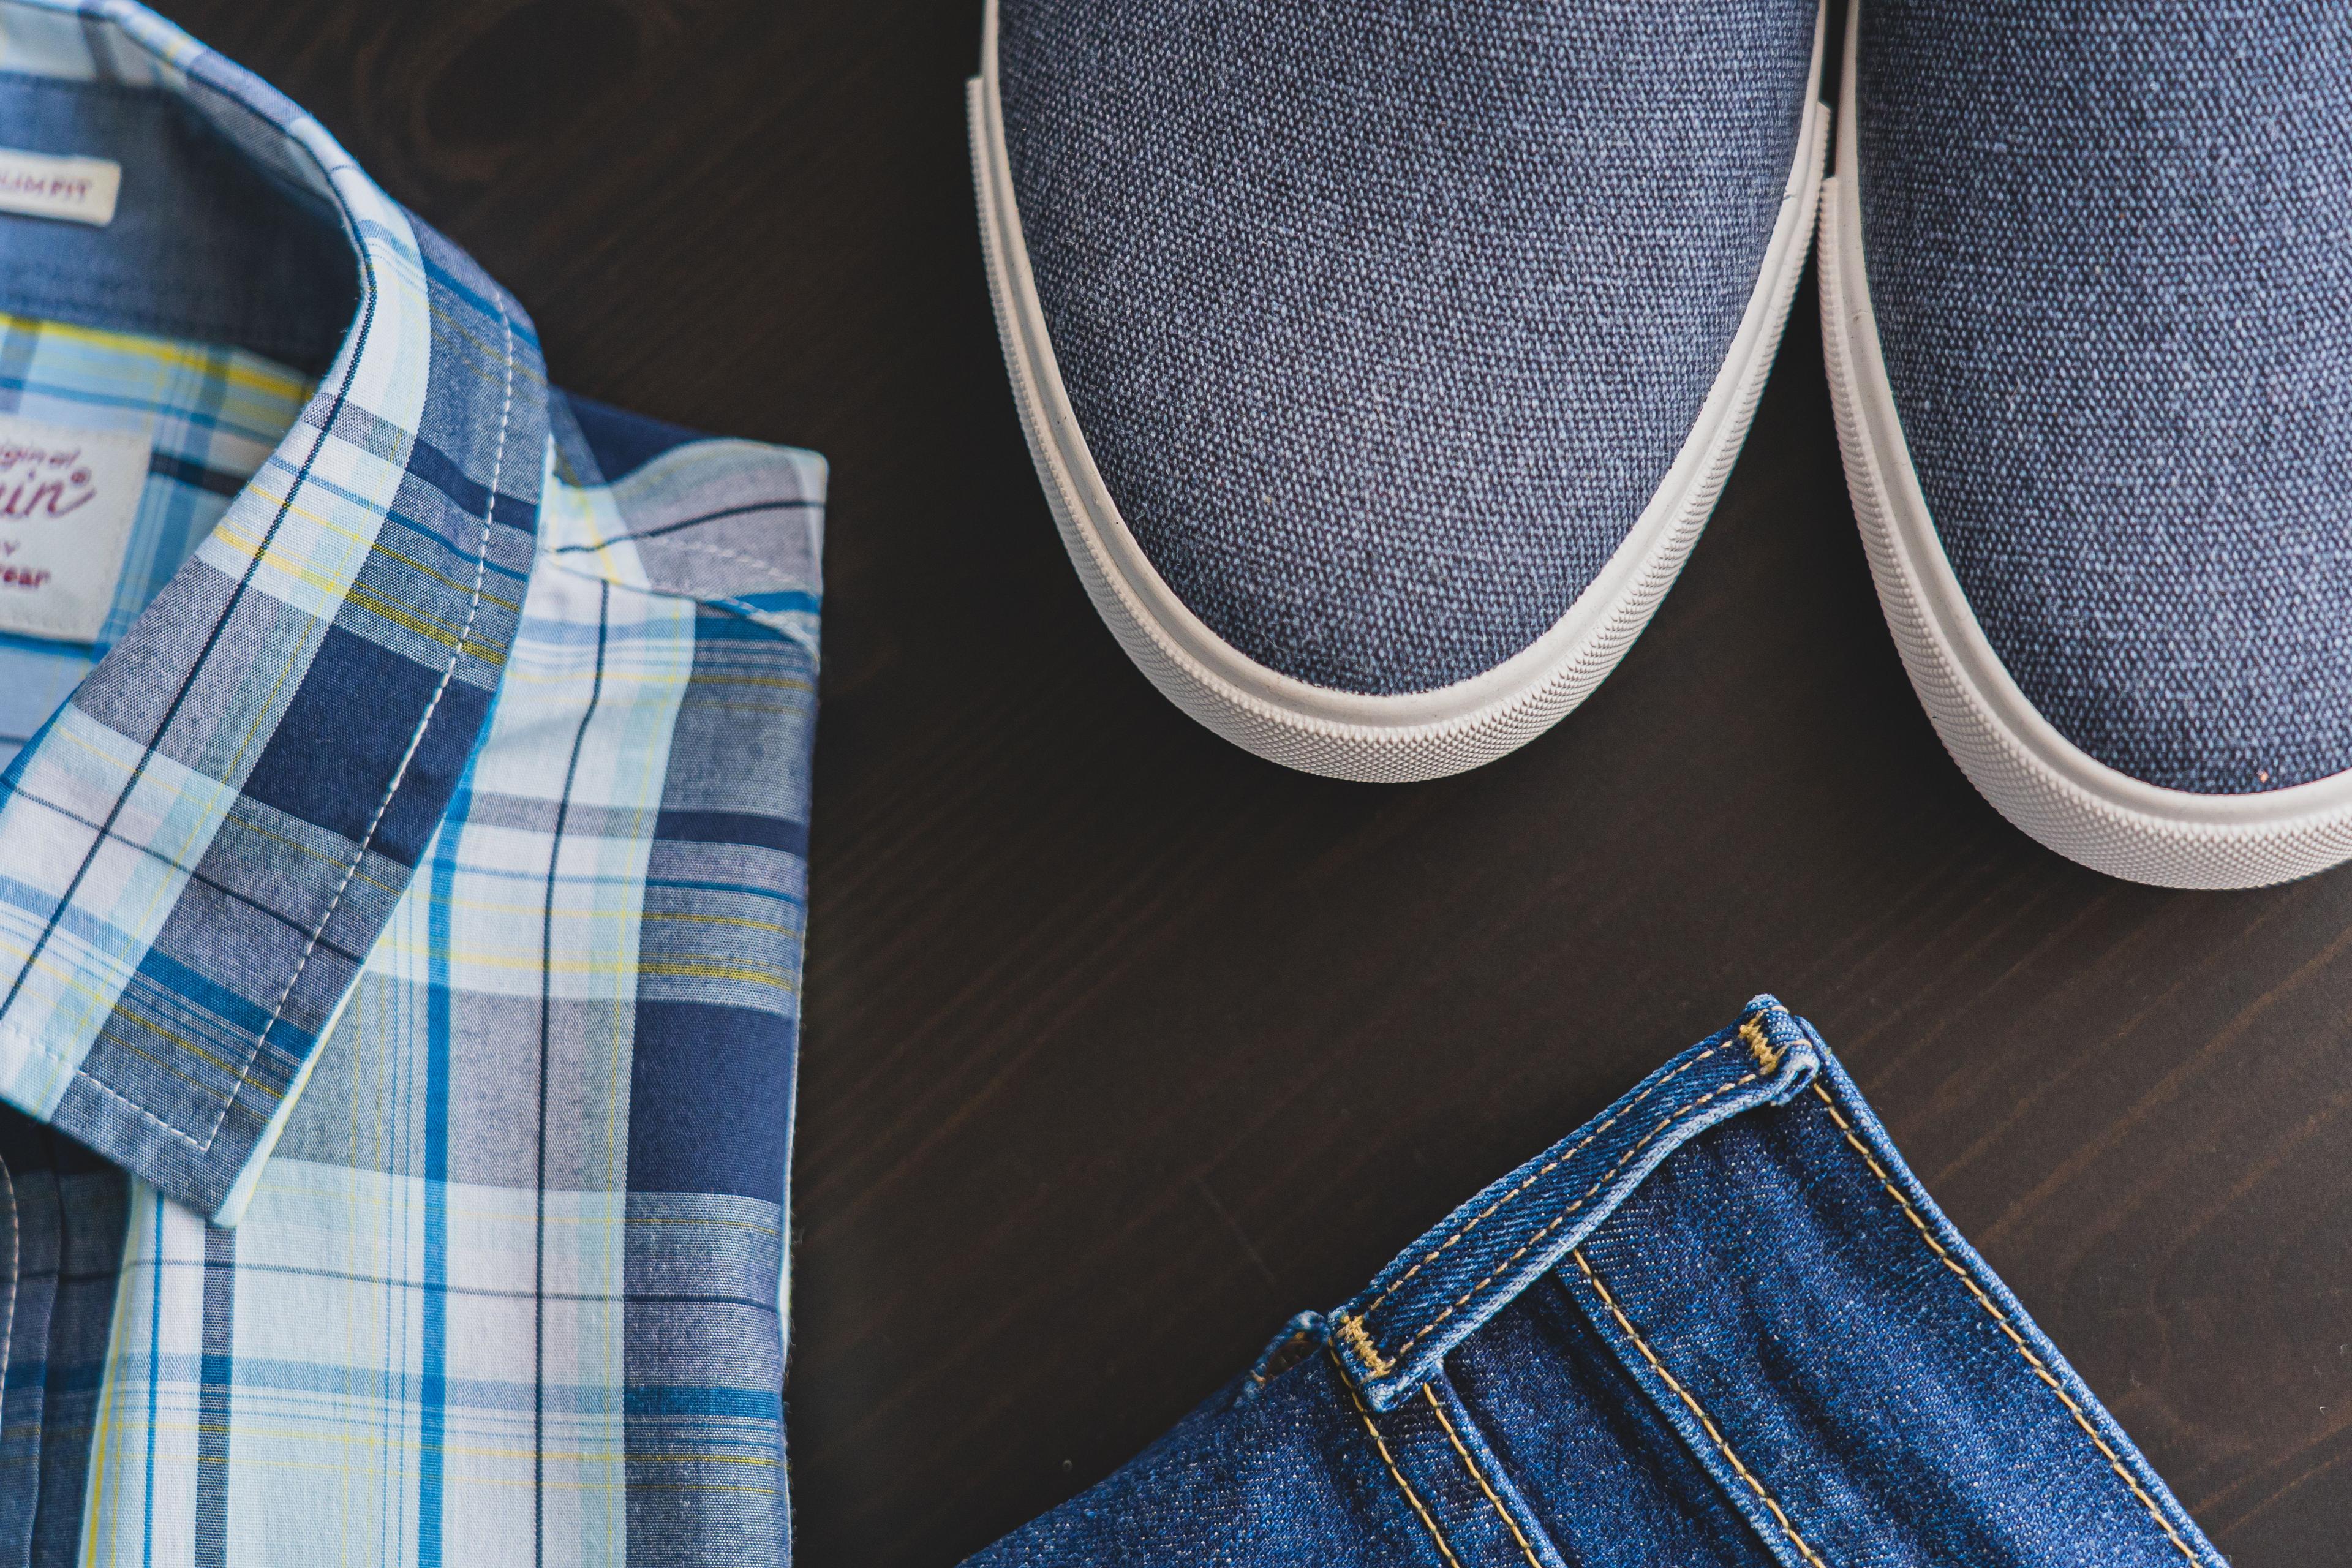
Tiny, repeating patterns seem harmless. You might love a crisp houndstooth jacket, a small grid button-down, or a dress with fine pinstripes. However, these patterns cause a technical glitch called moiré.
What Is Moiré?
Digital camera sensors are built with a grid of tiny light collectors. When you place a tight, repeating line pattern in front of that grid, the lines in your clothes overlap with the lines on the sensor.
The camera gets confused. It creates fake wavy lines, rainbow swirls, or strange optical illusions across your shirt.
The Visual Distortion: Your shirt looks like it is moving or vibrating on screen.
The Rainbow Effect: False colors like purple and green can pop up inside the pattern.
The Post-Processing Headache: Removing moiré in editing software takes hours and rarely looks completely natural.
Rule of Thumb: If a pattern is smaller than the size of a dime and repeats tightly across the fabric, leave it in your closet for shoot day.
Better Alternatives to Tight Patterns
You do not have to wear flat, boring outfits. Texture adds depth to images without confusing the camera sensor.
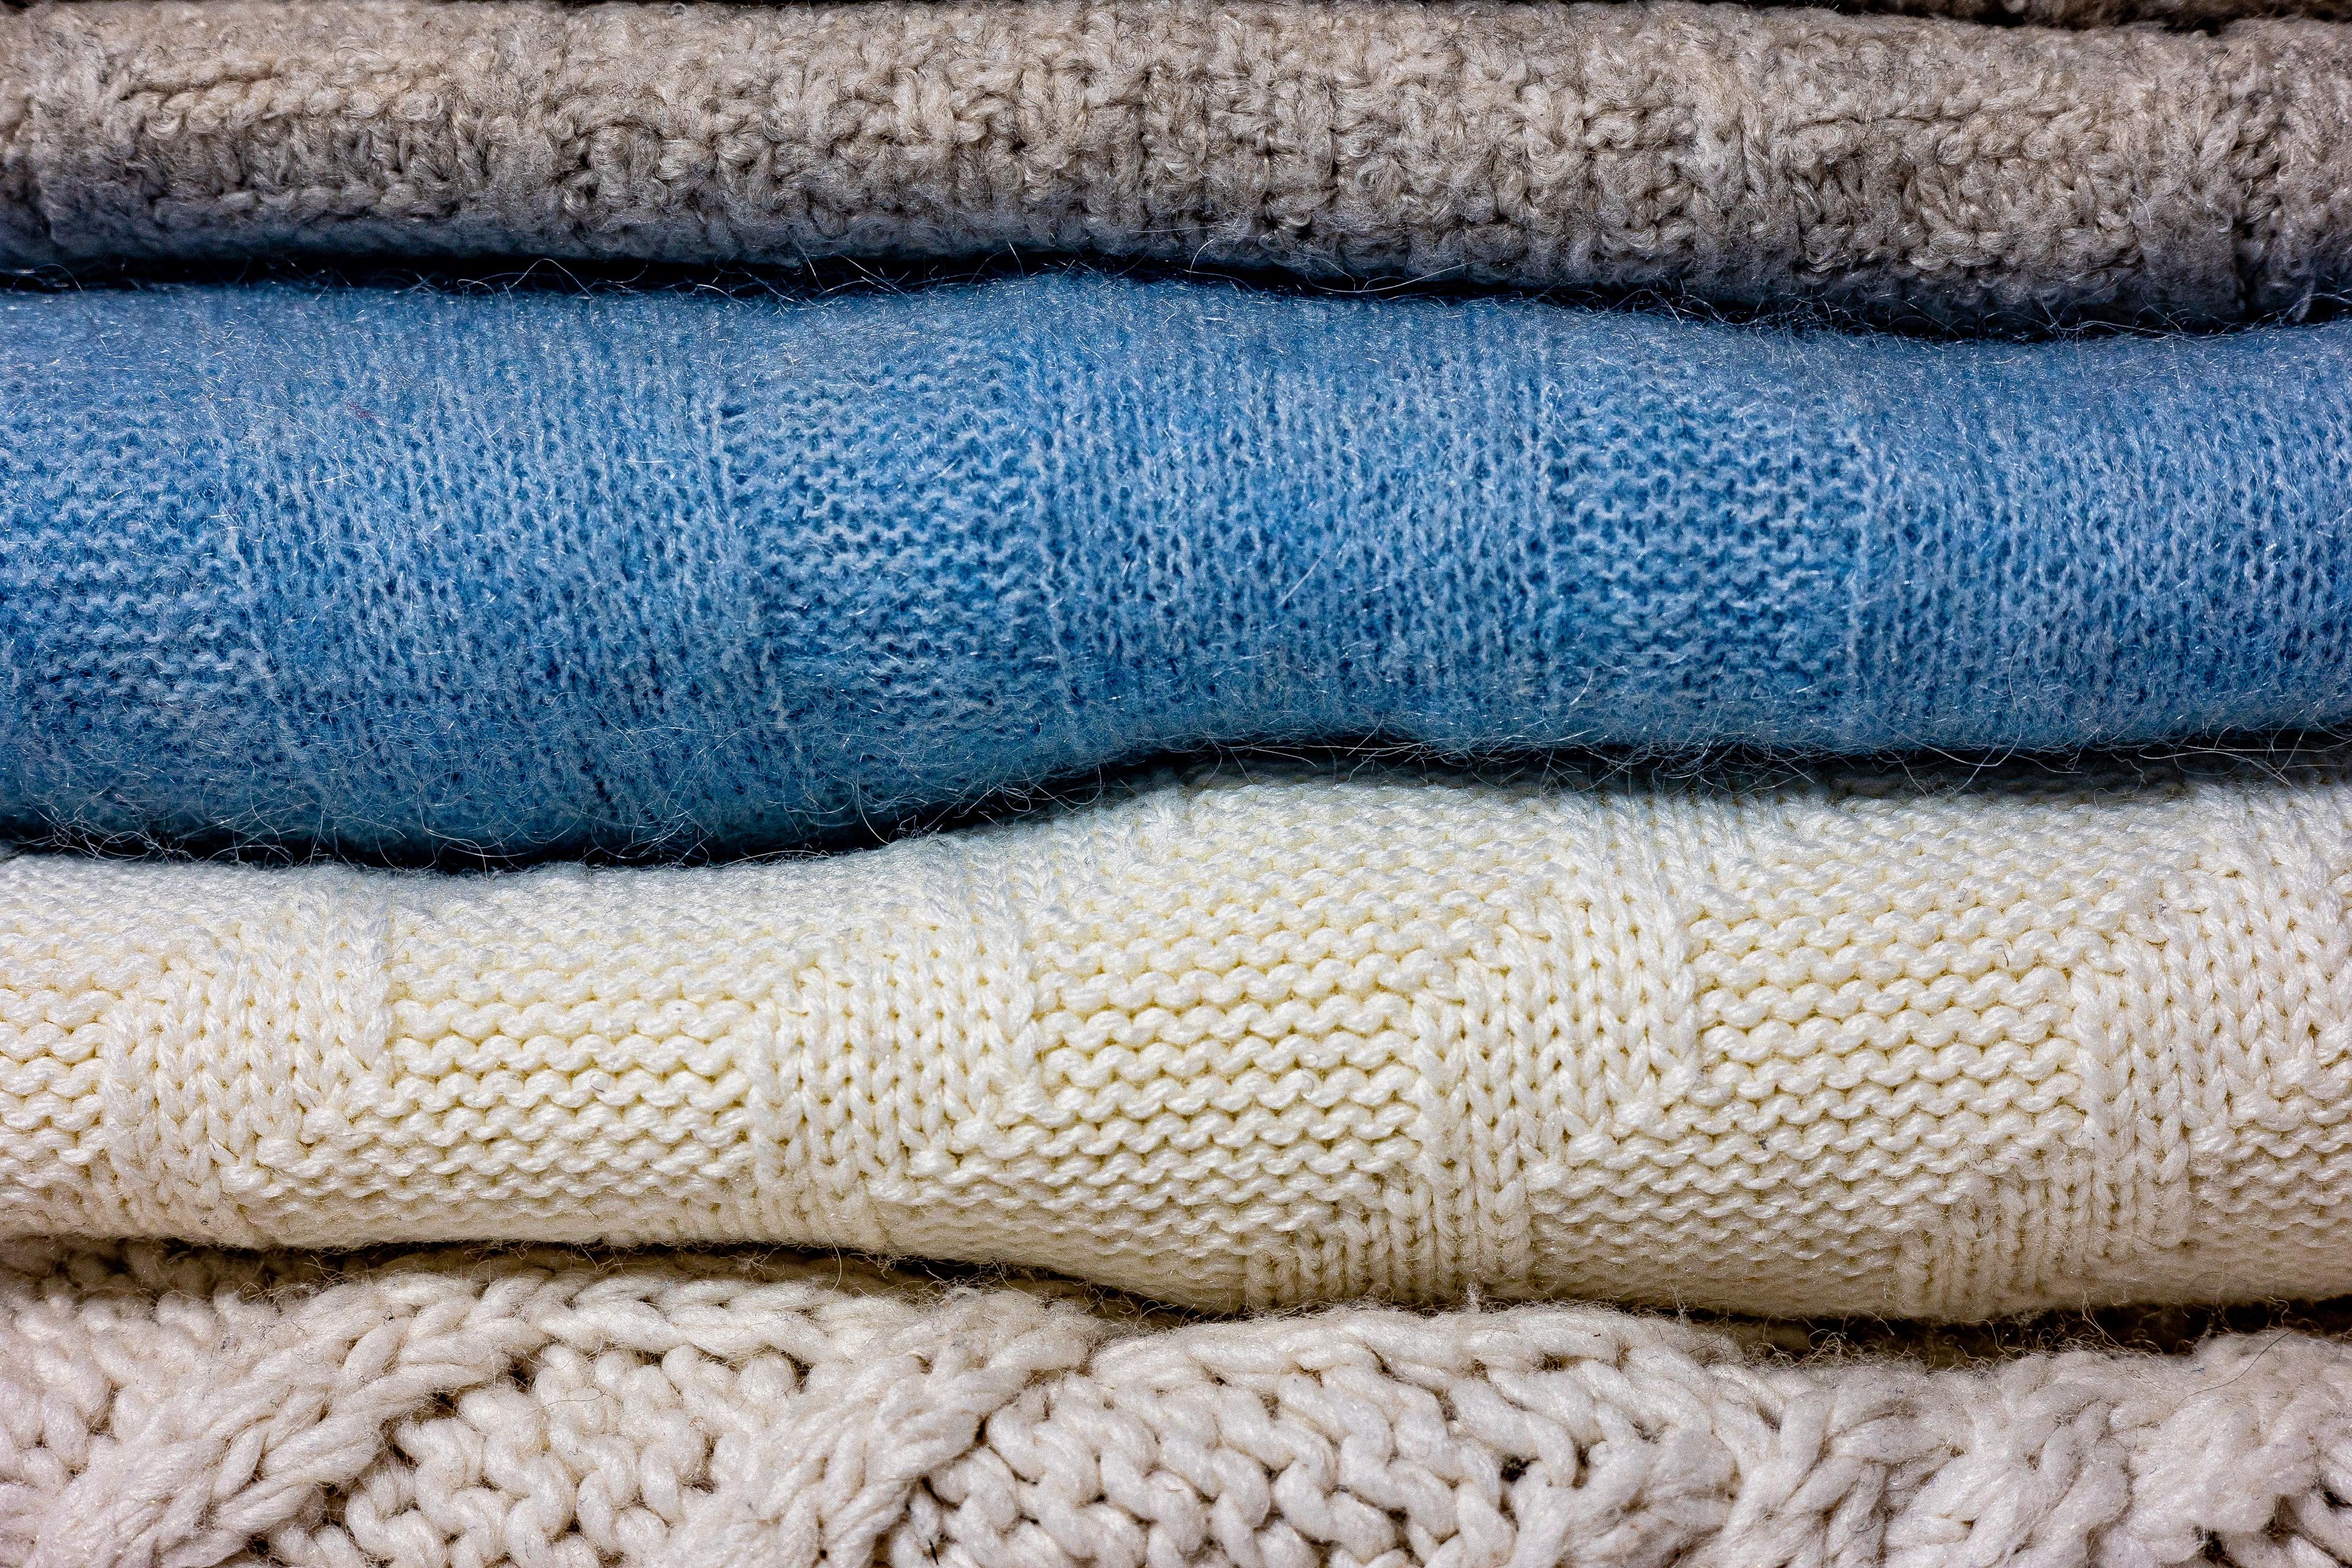
Try thick knit sweaters or waffle-weave shirts.
Pick clothing with large, bold patterns if you love prints.
Choose fabrics like linen, wool, or suede that add touchable depth.
Mistake 2: Stark White and Dark Black
It feels safe to reach for a plain white dress shirt or a solid black blazer. They are timeless pieces in daily life. On camera, though, extreme brights and extreme darks create lighting problems.
The Problem With Stark White
Camera sensors have a limit on how much contrast they can handle at one time. This limit is called dynamic range.
When you wear pure white, the camera tries to expose for your skin tones. The white fabric catches the studio lights and blows out, meaning all the detail in the cloth turns into a solid, blinding bright spot. Your face ends up looking darker by comparison.
Bright white can also bounce light back up under your chin, creating weird color casts on your neck.
The Problem With Pure Black
Solid black acts like a light sponge. It swallows shadows and erases the shape of your body.
Unless the lighting is very carefully angled, a black shirt can make you look like a floating head above a dark blob. Details like seams, buttons, and waistlines vanish completely.
The Color Sweet Spot
Instead of pure white or solid black, lean toward mid-tones and rich colors that complement your skin tone.
Swap pure white for: Cream, ivory, light gray, soft blue, or blush pink.
Swap solid black for: Charcoal gray, navy blue, deep forest green, or chocolate brown.
These middle-ground shades let the camera keep detail in both your skin and your clothes.
Mistake 3: Giant Logos and Brand Names
You might love a specific designer or want to look casual in a branded t-shirt. Unless you own that brand, heavy logos steal your spotlight.
The Psychology of Visual Distraction
Human brains are lazy by nature. When we view a picture, our eyes automatically seek out readable text.
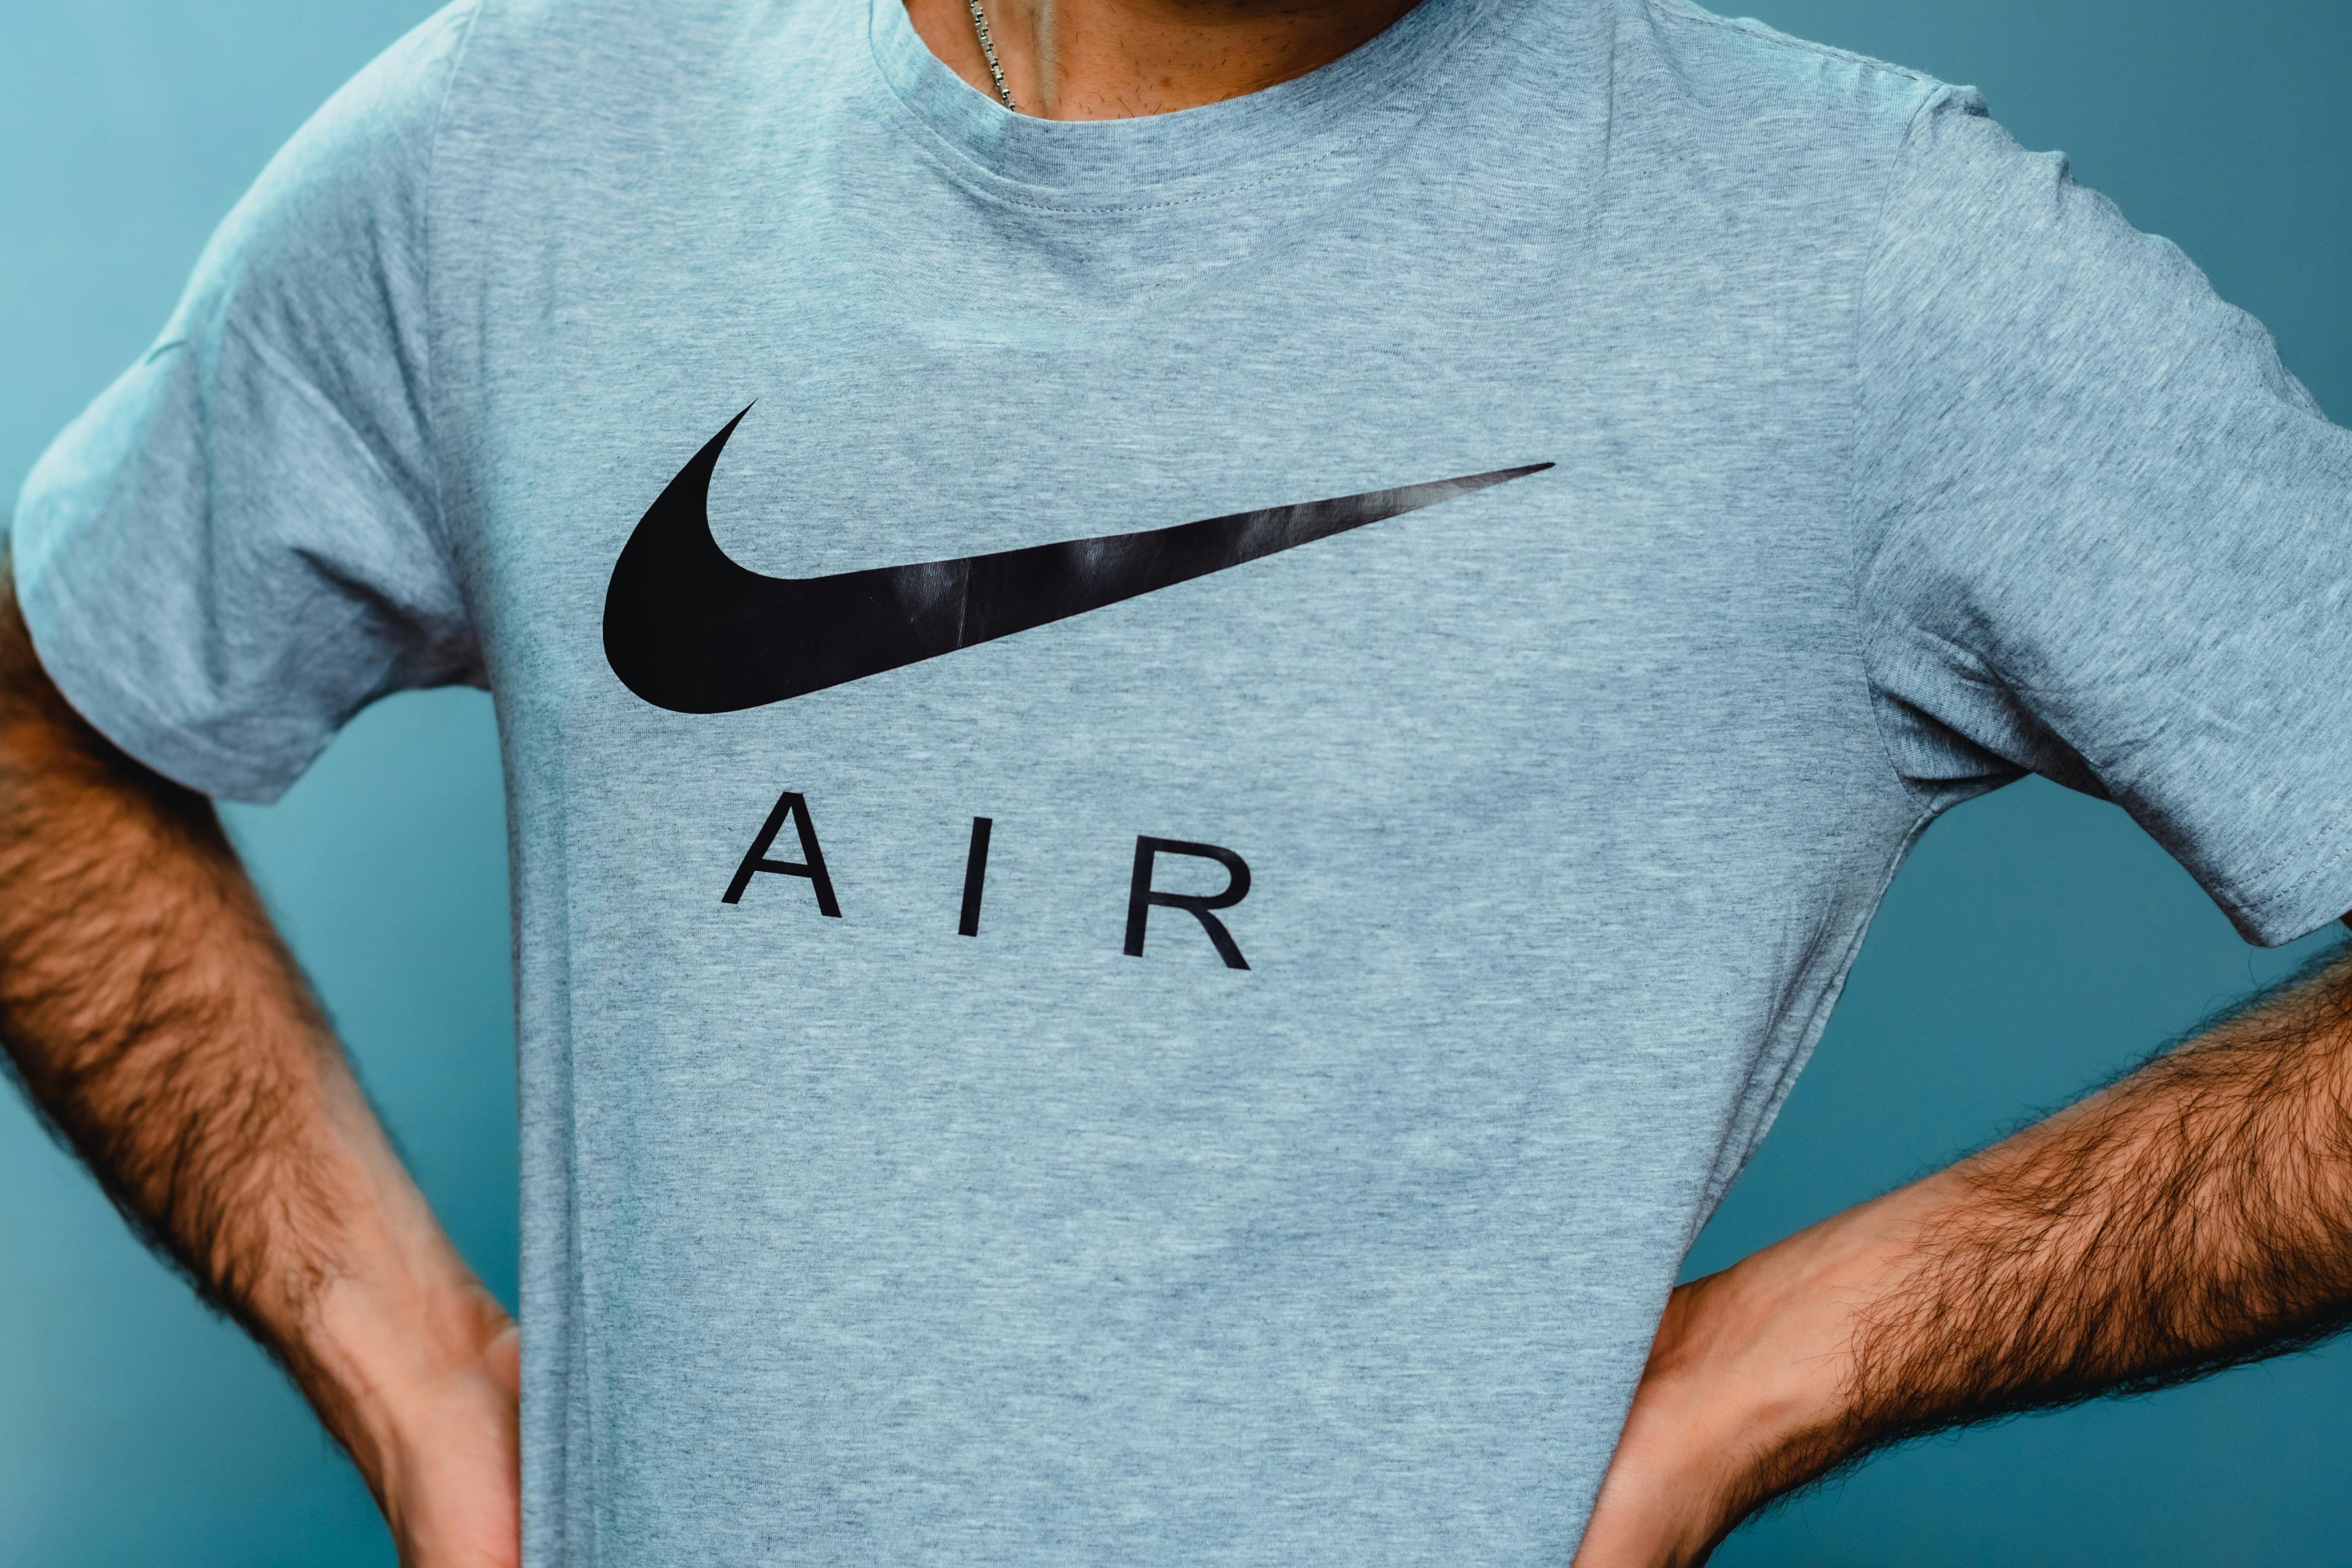
If you wear a shirt with a large brand name across the chest, the viewer reads that word first. Their mind processes that company instead of connecting with you.
It Hijacks Your Identity: People think about the shirt company rather than your service.
It Dates Your Photos: Logo styles change fast. A trendy graphic shirt will make your headshot look old in a year or two.
It Looks Unprofessional: Massive logos feel like free advertising for someone else.
Keep your branding photos centered on your business identity. Choose simple, clean garments without visible brand names or word graphics.
How to Choose the Right Outfits for Camera
Now that you know what to steer clear of, let us talk about how to select clothes that make you look confident and capable.
1. Match Your Clothes to Your Character
Think about how you want clients to feel when they work with you.

Calm and Trustworthy: Soft blues, cool grays, and muted greens.
Warm and Approachable: Warm terracotta, mustard, creams, and warm wood tones.
Bold and Decisive: Jewel tones like sapphire, emerald, and deep plum.
Pick colors that align with your personality and your website color palette.
2. Focus on Fit over Trends
Loose, baggy clothes might feel comfortable at home, but on camera they add bulk. Clothes that are too tight create awkward pulls across your chest and shoulders.
Select tailored clothes that fit your current body comfortably. Well-fitted shoulders and defined waistlines create clean lines that look great in pictures.
3. Layer for Instant Options
Layers give your photographer more variety without forcing you to change clothes five times.
Add a fitted blazer over a simple top.
Put a denim jacket over a solid dress.
Throw a cozy cardigan over a tailored shirt.
You can take off a jacket mid-shoot and instantly get a second look in under ten seconds.
A Quick Wardrobe Checklist for Shoot Day
Before you pack your bags for your photo session, run through this quick checklist:
[ ] No tiny pinstripes, houndstooth, or micro-checks (prevents moiré).
[ ] No blinding white or shadow-swallowing black tops.
[ ] No giant words, logos, or graphic prints.
[ ] Clothes are ironed or steamed (cameras show every crease).
[ ] Outfits feel comfortable when sitting down and standing up.
[ ] Colors fit your brand palette and skin tone.
When you dress to keep the focus on your face, your photos do their job. They invite your ideal client into a conversation, build trust, and help you grow your business.